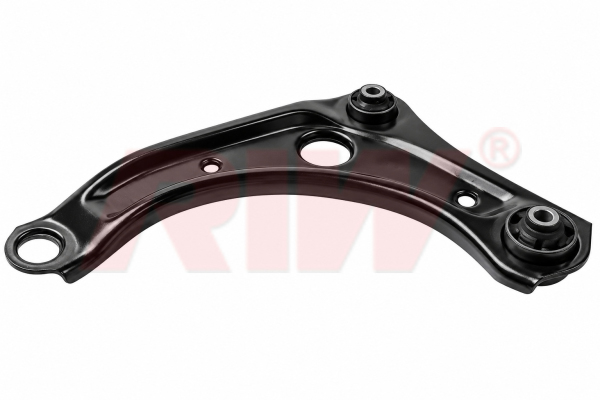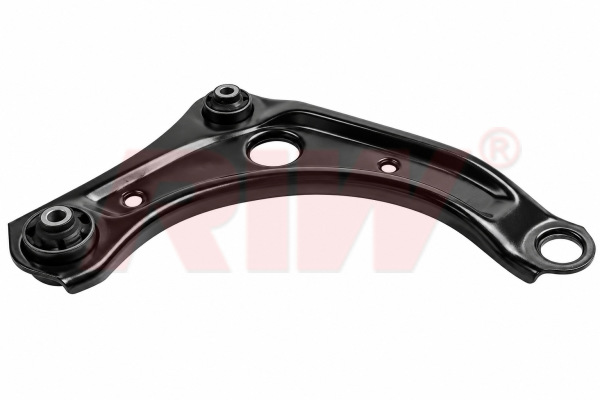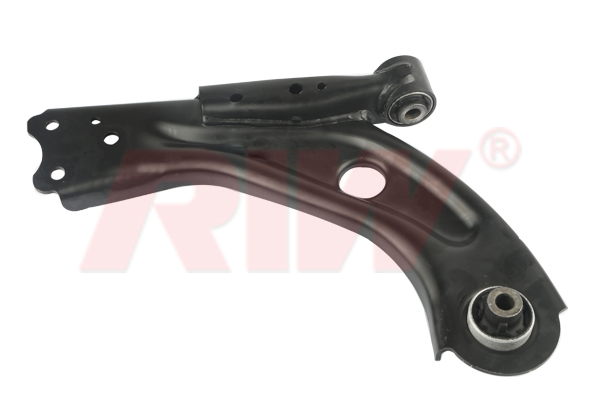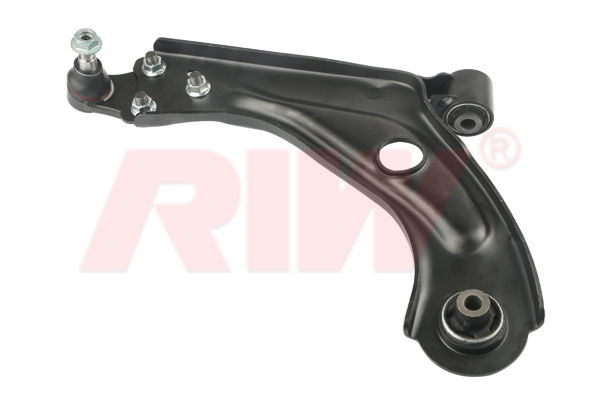



What is a Suspension Mounting?
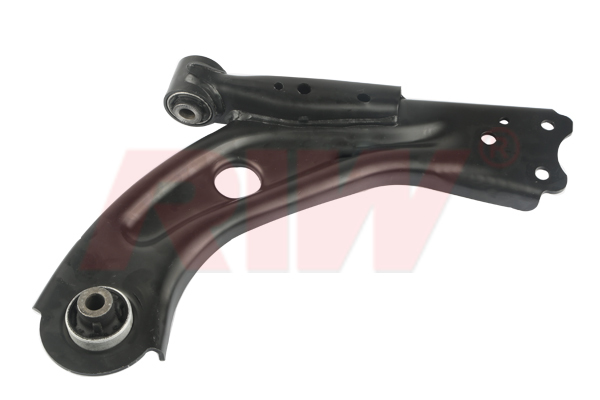
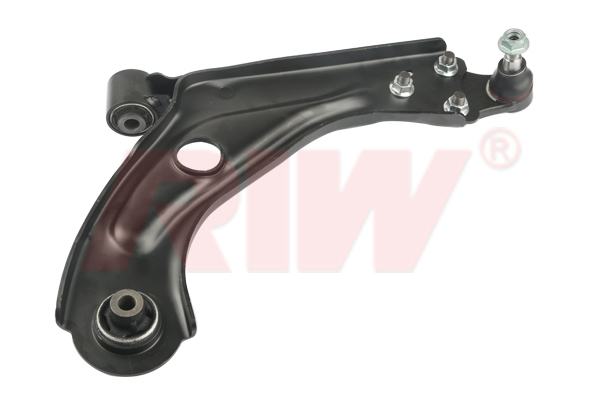
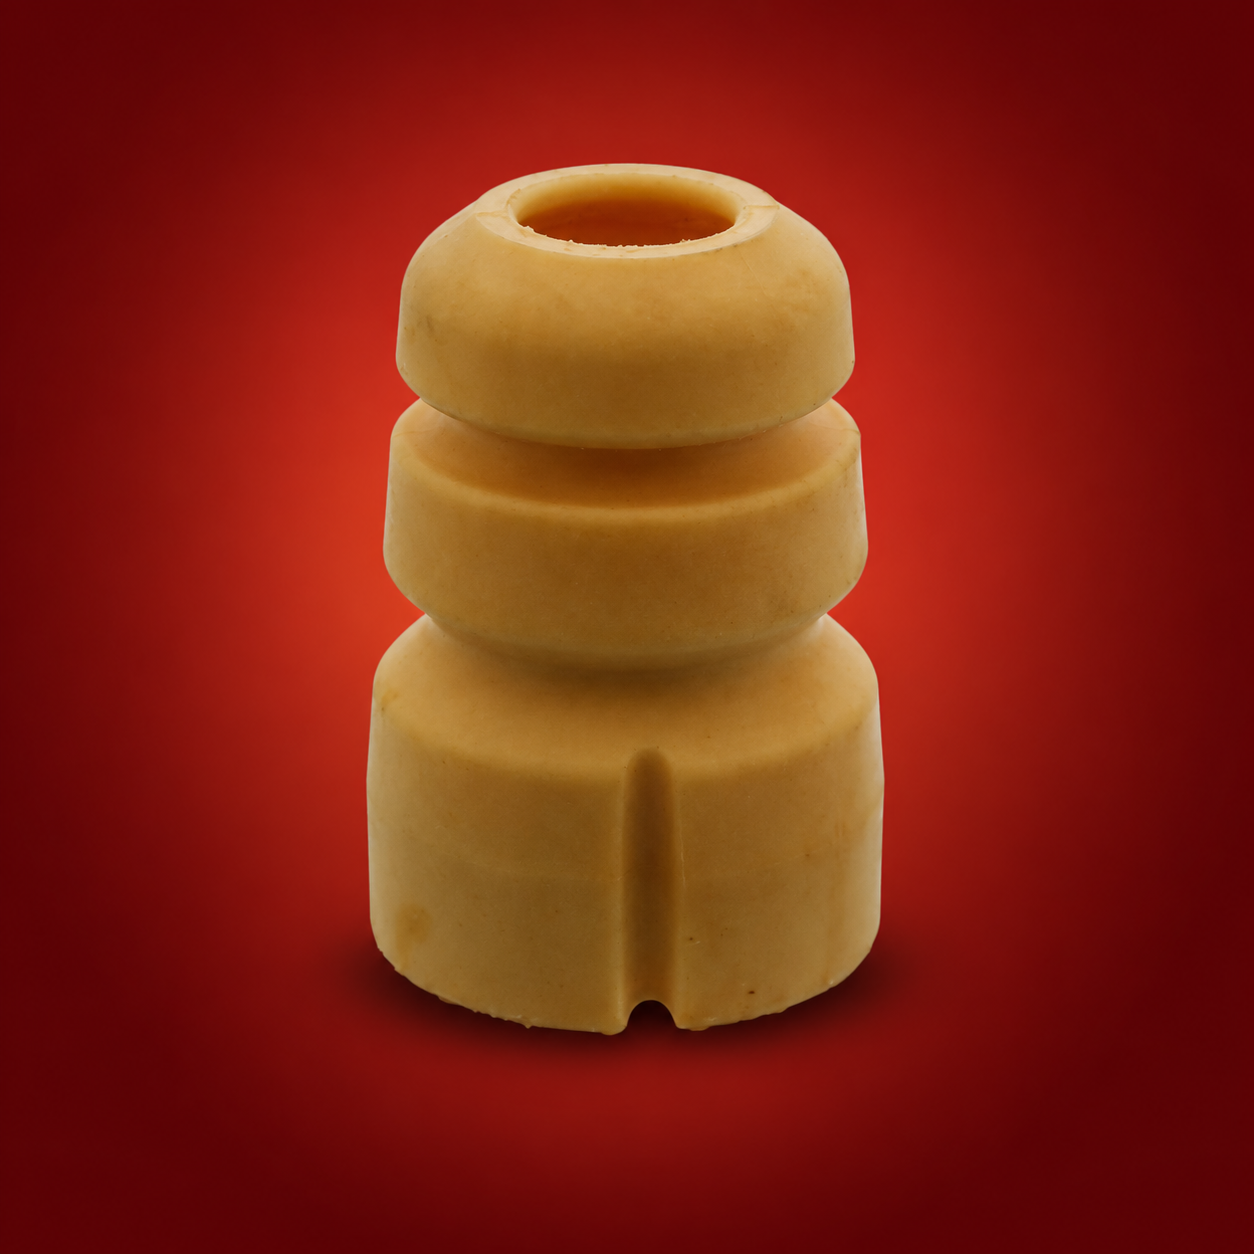
A rubber buffer, also known as a suspension bushing or mount, is a component of a vehicle's suspension system that serves as a cushion between two metal parts. The rubber buffer acts as an isolation layer, dampening vibrations and reducing noise, and helps to absorb the forces generated by the suspension system as the vehicle moves.
A rubber buffer typically consists of a rubber sleeve that is inserted between two metal parts, such as the suspension arm and the chassis. The rubber material used in the buffer provides a flexible and resilient connection between the two parts, allowing for some movement and absorbing vibrations and shocks.
Rubber buffers are used in various parts of a vehicle's suspension system, including the control arms, sway bars, and shock absorbers. They play a crucial role in ensuring a comfortable and stable ride, and help to extend the life of the suspension components and other parts of the vehicle by reducing wear and stress.
Over time, rubber buffers can wear out and become brittle, leading to increased noise and vibration, poor handling, and reduced suspension performance. Replacing worn or damaged rubber buffers is an important part of regular vehicle maintenance, as it can help to restore the handling and stability of the vehicle and prevent further damage to other parts of the suspension system.
When should a Suspension Mounting be replaced?
It is necessary to replace a rubber buffer (suspension mounting) when it becomes worn or damaged. The signs of a worn or damaged rubber buffer include:
- Noisy suspension: If you hear creaking, knocking, or rattling noises when driving over rough roads, it could be a sign that the rubber buffer is worn.
- Vibrations: If you feel increased vibration or harshness in the steering wheel, seat, or floorboard, it could be a sign that the rubber buffer is worn or damaged.
- Loose handling: If you experience loose or unstable handling, especially when driving at high speeds or over rough roads, it could be a sign that the rubber buffer is worn.
- Uneven tire wear: If you notice uneven tire wear, it could be a result of misalignment caused by worn or damaged rubber buffers.
- Cracks or tears: Visually inspect the rubber buffer for cracks, tears, or deformities, which can indicate that it is worn or damaged.
In general, rubber buffers should be replaced if they show any signs of wear or damage, as they play a critical role in ensuring a comfortable and stable ride, and in preventing further damage to other parts of the suspension system. It is recommended to have a qualified mechanic inspect and replace the rubber buffers as part of regular vehicle maintenance.
How to install a Suspension Mounting
Assembling a rubber buffer (suspension mounting) typically involves the following steps:
- Prepare the suspension arm and chassis: Clean the surface of the suspension arm and chassis where the rubber buffer will be mounted, and check for any damage or rust that may interfere with the installation.
- Lubricate the rubber buffer: Apply a small amount of lubricant to the inside of the rubber buffer, which will make it easier to install.
- Install the rubber buffer: Place the rubber buffer into its location on the suspension arm or chassis, making sure it is positioned correctly and aligned with the other suspension components.
- Secure the rubber buffer: Use a socket or wrench to tighten the bolts or nuts that secure the rubber buffer in place, making sure to tighten them to the specified torque.
- Test the suspension: After the rubber buffer is installed, test the suspension by bouncing the vehicle or driving over a rough road to ensure that it is functioning correctly.
It is important to follow the manufacturer's instructions and specifications when assembling a rubber buffer (suspension mounting), and to use the correct tools and equipment to ensure a safe and effective installation. If you are not familiar with the process or unsure about any step, it is recommended to seek assistance from a qualified mechanic. It is recommended to consult the vehicle manufacturer's manual or a professional mechanic for specific instructions.
Explore the RIW range
Find this product in our online catalogue.