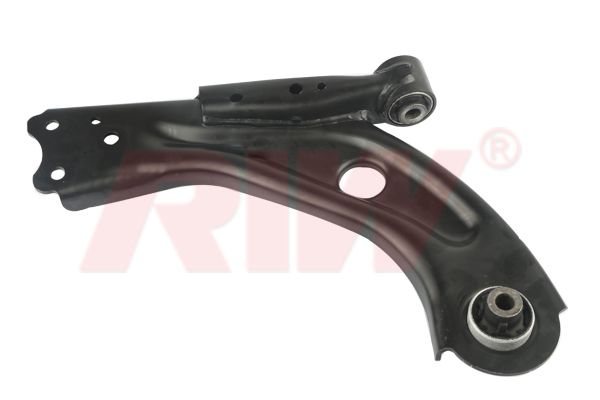
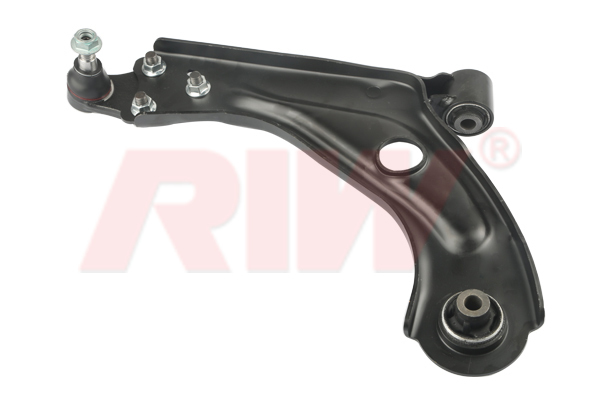
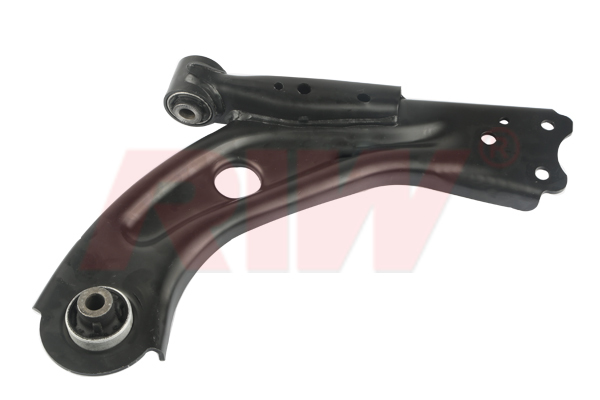
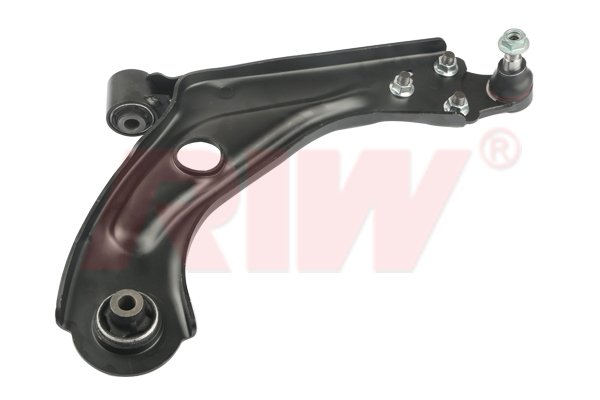
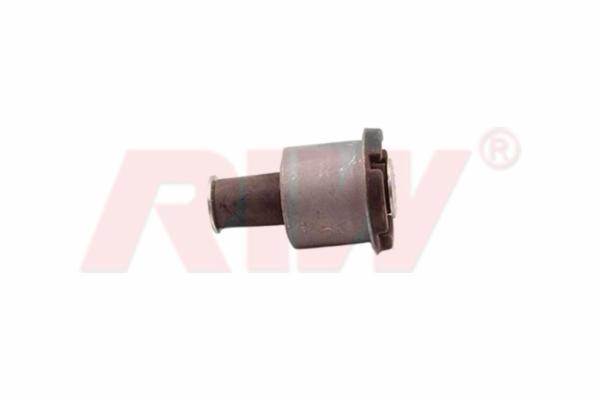
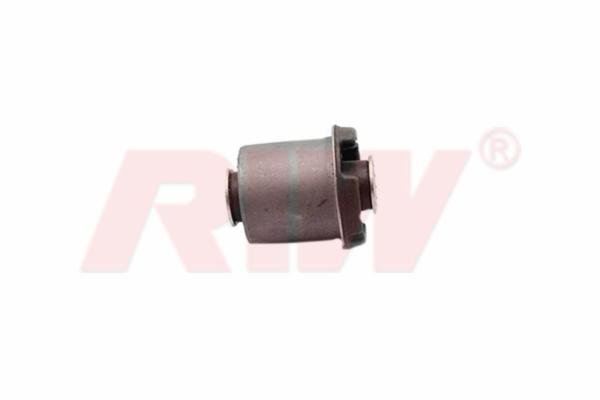
Rod Assembly

Rod Assembly
What is Tie Rod Assembly?
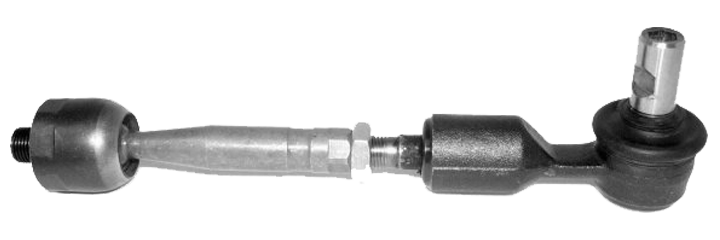
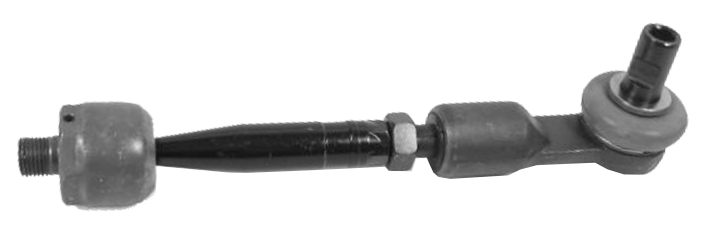
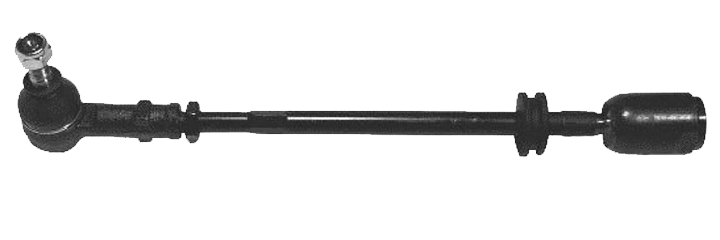
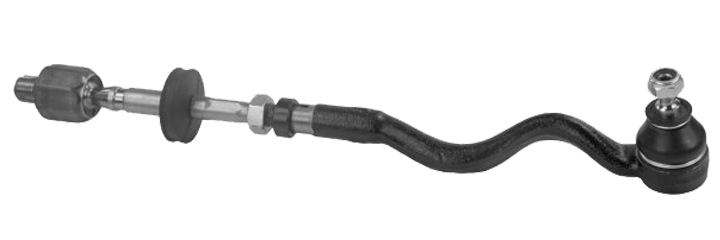
The steering tie rod assembly is a crucial component of a vehicle's steering system. It connects the steering gear to the steering knuckles, transmitting force from the steering wheel to the wheels to control the direction of the vehicle. The tie rod assembly helps ensure the wheels turn in the desired direction and provides stability to the steering mechanism. Tie rod assembly consist of inner or outer axial joint, tie rod end and ajusting sleeve and these components work together to transmit the force from the steering wheel to the wheels and control the direction of the vehicle. A tie rod assembly that is worn or damaged can cause problems with steering and handling, so it is important to regularly inspect and maintain this component of a vehicle's steering system. When is that necessary to replace a Tie Rod Assembly? There are several signs that indicate it may be necessary to replace the steering tie rod assembly, including: 1. Loose or Wandering Steering: If the vehicle's steering feels loose or wanders, it may be a sign that the tie rod assembly is worn or damaged. 2. Poor Alignment: If the wheels are not aligned correctly, it can cause wear and damage to the tie rod assembly. 3. Unusual Tire Wear: If one or more tires are wearing unevenly, it may be a sign of a problem with the tie rod assembly. 4. Steering Vibration: If the steering wheel vibrates, it could be a sign of a damaged tie rod assembly. 5. Clunking or Popping Noises: If there is a clunking or popping noise when turning the steering wheel, it may indicate a problem with the tie rod assembly. It's best to have a qualified mechanic inspect the tie rod assembly if any of these signs are present, as a worn or damaged tie rod assembly can affect the handling and stability of the vehicle, increasing the risk of a crash. If the tie rod assembly is found to be worn or damaged, it should be replaced promptly to ensure safe and proper steering. How to assemble a steering tie rod assembly? Assembling a steering tie rod assembly typically involves the following steps: 1. Gather Tools and Parts: Make sure you have all the necessary tools and replacement parts before starting the assembly process. 2. Remove the Old Assembly: Begin by removing the old tie rod assembly from the vehicle. This may require the use of a tie rod end puller or other specialized tools. 3. Clean the Steering Knuckle and Gear: Clean the steering knuckle and gear to ensure that the new tie rod assembly is properly installed. 4. Install the Inner Tie Rod: Install the inner tie rod into the steering gear, making sure it is securely fastened. 5. Install the Outer Tie Rod: Install the outer tie rod into the steering knuckle, making sure it is securely fastened. 6. Attach the Tie Rod End: Attach the tie rod end to the inner and outer tie rods, ensuring that it is properly positioned and securely fastened. 7. Install the Adjusting Sleeve: Install the adjusting sleeve to allow for proper alignment of the wheels. 8. Install the Boot: Install the protective rubber boot over the tie rod end to prevent dirt and debris from entering and damaging the joint. 9. Test Drive: Test drive the vehicle to ensure that the steering is responsive and there are no unusual noises or vibrations. If everything feels good, the tie rod assembly is properly assembled. It's important to follow the manufacturer's instructions when assembling a tie rod assembly, and to have a qualified mechanic perform the work if you're not confident in your ability to do it correctly. A properly assembled tie rod assembly is critical to the safe operation of the vehicle. It is recommended to consult the vehicle manufacturer's manual or a professional mechanic for specific instructions.
Rod Assembly Images
